

Can anything beat a fresh set of polished irons, straight out of the packaging?
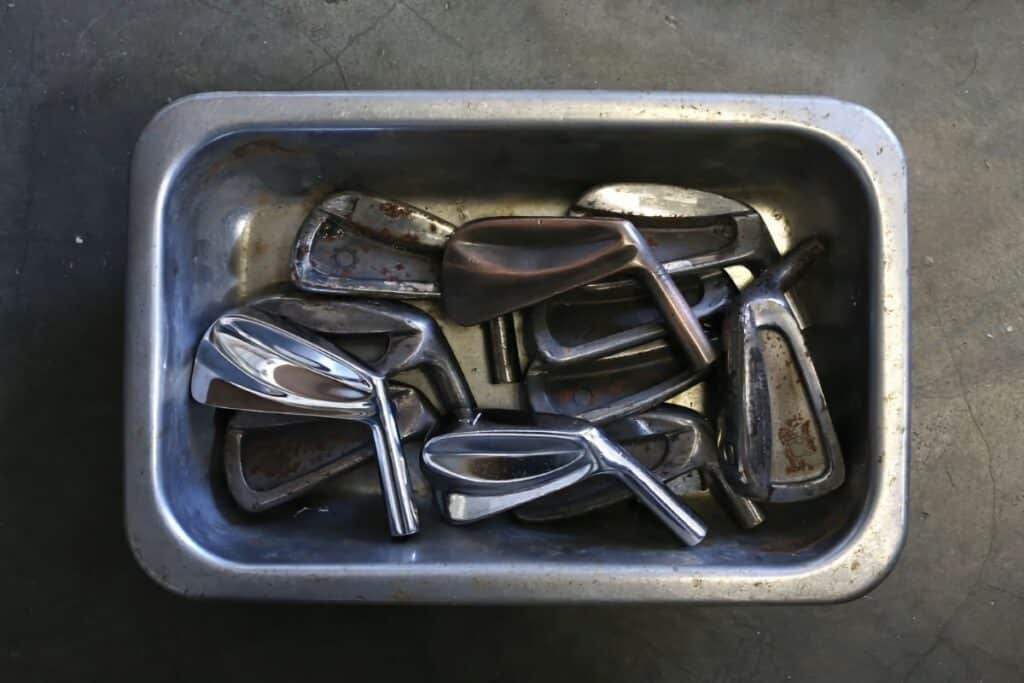
Every golfer wishes they could keep their clubs in pristine condition. Sadly, scratches are a reality when you use your clubs frequently at the course and on the range.
In this article, you’ll learn how to remove scratches from golf irons.
I’ll begin with a step-by-step process for removing light scratches, before showing you how to remove deeper scratches and gouges from a club head. Then, I’ll teach you the best ways to prevent scratches on your clubs.
Ready? Let’s restore those clubs!
How to Remove Scratches From Golf Irons
To remove light scratches from golf irons, you can use a bench grinder and a polishing kit with various grades of abrasion. However, to remove deep scratches and gouges, you may need to add material. Fill the scratch with copper electroplating, before nickel plating for a polished finish.
How to Remove Light Scratches From Golf Clubs
Most golf clubs will suffer from light scratching over time. Any sand, dirt, or grit that gets between the ball and the club can cause a scratch on the face. What’s more, the sole of the club is prone to scratching every time it makes contact with the ground.
Fortunately, removing light scratches is a fairly simple fix. The process involves buffing the club head with multiple grades of polishing wheels — ranging from coarse to fine.
Here are the tools that you’ll need for the polishing process:
- Bench grinder — available here
- Polishing kit — available here
- Microfiber cloth — available here
Let’s dive straight into step one!
1. Remove the Main Scratches
Firstly, attach the most abrasive buffing wheel to the bench grinder. This is the stiffest and most coarse pad, designed to remove scratches in the initial polish.
Next, turn on the bench grinder and apply the buffing compound.
Now, get polishing! Work around all areas of the club, without focusing too much attention on one particular area — this could remove too much material.
When finished, give the club head a wipe-over with a microfiber cloth to remove any excess compound residue before the next stage of the process.
PRO TIP: Check the instructions with your polishing kit to confirm the level of abrasion with each buffing wheel, and the ideal buffing compound to use with each.
2. Target the Other Scratches
After the initial polish, the main scratches should now be removed and the club head should already be looking significantly better than before.
Next, attach the second stage buffing wheel to the bench grinder. This is a slightly softer pad, designed to remove additional scratches and give a polished finish.
Apply the buffing compound for the second buffing wheel, and continue polishing as before. Once again, don’t focus too much on one area — apply an even polish.
When finished with stage two, wipe over the club head with the microfiber cloth.
3. Complete the Final Polish
Lastly, attach the third and final buffing wheel to the bench grinder. This is the softest pad and will provide a shiny, mirrored finish to the club head.
Apply the final buffing compound and polish as before. Wipe over with the microfiber cloth, and the finished club head should be super polished — and scratch-free!
In the video below, Andrew Ainsworth demonstrates how to remove scratches from golf clubs using various grades of polishing wheels:
How to Remove Deep Scratches and Gouges
While light scratches can be removed by finely sanding the club head before polishing, deeper scratches require a different approach.
Sanding a deep scratch forces you to remove too much material before it disappears, which risks changing the shape of the club head — altering its performance.
So, instead of removing material, you need to add material!
To do this, we’ll be filling the scratch with copper plating solution, before nickel plating the entire club head to achieve a polished finish.
If you’d like to try this at home, you’ll need a few items:
- DC Power Supply — available here
- Application Handle — available here
- Electrocleaner Solution — available here
- Nickel Strike Solution — available here
- Copper Solution — available here
- Wet and Dry Sandpaper — available here
- Nickel Anode — available here
- Nickel Plating Solution — available here
Now, tackle those deep scratches by following the steps below:
1. Electroclean the Club Head
Before starting the plating process, it’s vital that the club head is clean.
Electrocleaner Solution removes all grease, fingerprints, and polishing compounds in about a minute — ensuring the plating will stick to the club head.
First, attach the Application Handle to the DC Power Supply via the red lead wire, connected to the output of the power supply.
Next, set the voltage to 10V, and the current to 1A.
Then, apply some Electrocleaner Solution to the brush end of the Application Handle, and apply the solution to the area of the club head that is to be plated.
PRO TIP: To check if the surface is clean, spray distilled water on the surface. If the surface is dirty, the water will bead on the surface. If clean, the water will sheet.
2. Apply the Nickel Strike
We’re almost onto the plating — but first, we need Nickel Strike Solution.
Nickel Strike Solution is used to activate the metal surface prior to electroplating.
Set the DC Power Supply voltage to 6.5V, and the current to 1A.
Next, apply Nickel Strike Solution to the area of the club head to be plated via the brush end of the Application Handle — only a thin coating is required.
Then, rinse the club head with distilled water.
PRO TIP: You might notice the club head change to a yellow-ish color — this is a good sign!
3. Fill the Scratch With Copper
Now that the club head is prepped and cleaned, it’s time to apply the copper plating.
Set the DC Power Supply voltage to 6.5V, and the current to 1A.
Next, apply Copper Solution to the scratches via the brush end of the Application Handle. Apply several layers until the scratch is filled, and flush with the surface.
Then — once the copper has set — use 400 grit Wet and Dry Sandpaper to remove any excess copper material and smooth out the club head.
PRO TIP: Copper isn’t too hard, so should be easy to sand.
4. Polish the Club Head
Next, you should complete the polishing steps taken earlier in the article to remove light scratches and blemishes from the club head.
This should leave the club head looking polished — but the copper plating will still be visible against the original steel.
Now, the club head is ready for the final step — nickel plating.
5. Apply the Nickel Plating
Finally, it’s time to apply the shiny layer of nickel plating!
Set the DC Power Supply voltage to 6.5V, and the current to 1A.
Next, fill a plastic bucket with Nickel Plating Solution.
Then, connect a Nickel Anode to the DC Power Supply via the positive lead, and connect the negative lead to the club head.
Allow the club head to sit inside the solution for about 20 minutes. After removal, the club head will be nickel plated, and super polished!
PRO TIP: You can add texture to the clubface with a sandblaster, masking off the polished areas of the club head.
Check out the video below by Brad Meehan, where he demonstrates the process of repairing large scratches and gouges in golf irons:
How to Protect Golf Clubs From Scratches
Light scratches on the club head are often caused by dirt, grit, and sand getting between the ball and the face, as well as contact with the ground.
To protect golf clubs from scratches, make sure to clean and wipe your clubs between every shot. This will keep the club dirt-free, while also preventing rusting.
Another cause of scratches is when your clubs knock into each other in the golf bag.
To avoid this, consider investing in a golf bag with more dividers. This will keep your clubs well separated as you move around the golf course.
In addition, when transporting your clubs over long distances — perhaps abroad for a golf trip — consider putting socks over your club heads for extra protection.
If you have forged irons, be aware that you are likely to see signs of wear faster than with a set of cast irons — which are more durable.
Conclusion
In summary, removing scratches from golf irons can be done in two ways — depending on whether they are light or deep scratches.
For light scratches, use a bench grinder and a polishing kit. By using buffing wheels with different levels of abrasion, you should be able to remove the scratches and achieve a polished finish — like new.
When dealing with deep scratches and gouges, take the extra step of electroplating to fill the scratches with copper, before nickel plating to achieve an even, polished finish.
Knowing how to remove scratches from golf irons is a valuable skill! By following this guide, you can breathe new life into your set of clubs.
